Time Remapping in After Effects
When editing a video, time manipulation is one of the essential options. Have you ever considered how to extend, compress, play backward, or freeze a portion of a layer? If yes, time remapping in After Effects would amaze you! With the power of this function, you can use slow motion, speed ramps, and reverse playback by manipulating your keyframes.
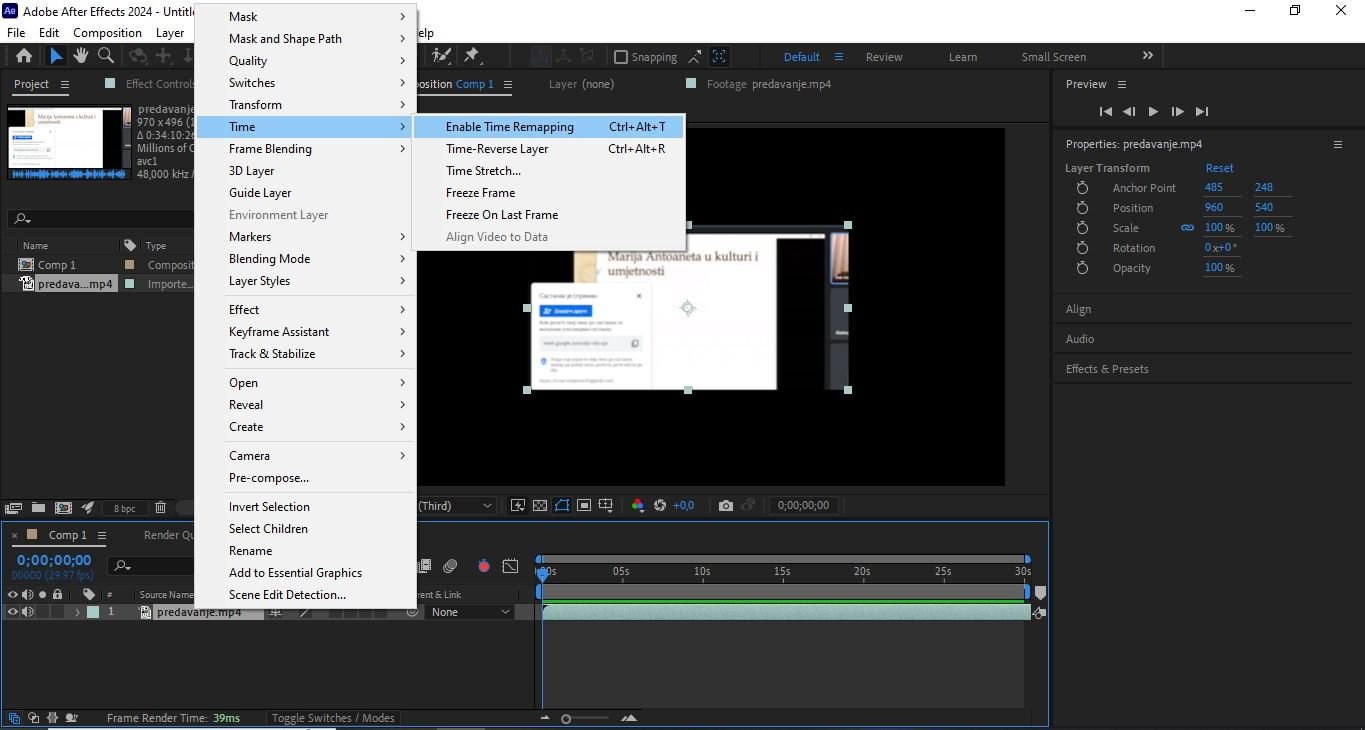
We want to demonstrate the essential operations provided by the time remap feature. However, we should show how this feature is activated first. To enable time remapping on a layer: right-click on the layer > Time > Enable Time Remapping.
Basic time remapping options include:
- Speed ramping creates a smooth transition from normal speed to slow motion or fast motion. To complete that, drag the speed line up or down with keyframes on the graph.
- Slow-motion decelerates a portion of your footage by stretching out the time between the keyframes.
- A freeze frame would be created when you place two keyframes at the same point in time. That way, you hold the single frame of the video and create a freeze frame effect.
- Reverse moments include setting a keyframe to play a portion of the video backwards. The shot can "retreat" before resuming forward motion.
- A seamless loop is valuable when you want your video to repeat endlessly, because there is no visible break between the end and the beginning.
- Rhythm-driven edits involve editing and synchronizing transition cuts in accordance with the music, i.e., sound.
Time Remapping vs. Time Stretch
The main difference between the time stretch and time remap options lies in the manipulation of the keyframe. Use the After Effects Time Stretch to speed up or slow down a video. But keep in mind that the action will be applied to the entire layer. The whole clip will be sped up or slowed down equally. However, using time remap, you can slow down or freeze just one segment or even play the video backwards. This feature allows you to create a combination of all these actions by attaching a keyframe to the timeline and moving the parts.
The "pre-compose + remap" option refers to putting a layer or multiple layers into a single, new composition (pre-composing) and then applying time remapping to that new pre-comp to control the speed and duration of the combined content. As you can see, After Effects time remapping gives you more editing control. However, it also requires more setup and manual work than Time Stretch.
How to Use Time Remapping in After Effects
You can choose how you want to remap time: in the Layer panel or in the Graph Editor. Both choices provide a different view of the layer duration. Using the Layer panel allows you to see every frame, along with a current-time indicator and a marker that you can move to select the frame to play at a specific point. The Graph Editor shows you how the time changes during the clip. Keyframes are like dots that you stick on a graph and move to control the speed.
How to Time Remap a Layer
How to freeze the current frame for the duration of the layer
Go to the Composition or Timeline panel and choose the layer. Then, place the current-time indicator on the frame you want to freeze. The rest is simple: Click Layer > Time > Freeze Frame.
How to freeze the first frame without changing the speed
Navigate to the Composition or Timeline panel and select the layer you want to remap. Click Layer > Time > Enable Time Remapping. Set the current-time indicator to where you want the movie to begin. Select the Time Remap property name and select the start and end keyframes. Drag the first keyframe to the current-time indicator. That will move the start and end keyframes.
How to freeze a frame in the middle of the duration of a layer
Go to the Composition or Timeline panel and choose the layer you want to remap. Select Layer > Time > Enable Time Remap. Move the current-time indicator to the frame you want to freeze. Then create a Time Remap keyframe at that point—click the diamond in the keyframe navigator next to the Time Remap property.
Select the last two Time Remap keyframes (the second and third keyframes) and pull them to the right. Press F2 > deselect the keyframes. Select the second (middle) keyframe. The shortcut Ctrl+C will capture the keyframe. Navigate it to the desired spot on the timeline. Then place it wherever you need by hitting Ctrl+V.
Key takeaway
If you use Time Remap keyframes in your project, Nexrender saves them and renders them as they are placed. This tool can automate the process of freeze framing, speeding up/slowing down clips, or any changes you've made in Time Remap!
How to Time Remap in Graph Editor
Select the layer you want to manipulate in the Composition or Timeline panel. Layer > Time > Enable Time Remapping will follow. After that, click on the Time Remap property in the Timeline to enable it. Place the current-time indicator at the point you'd like to insert a keyframe. Then, select the keyframe button in the Keyframe Navigator to create it.

Raise or lower the marker for that keyframe in the Graph Editor, yet keep an eye on the Time Remap. You should also hold Shift while dragging to snap to other keyframes. To slow down a layer, bring the keyframe down (or up if it's playing in reverse); to speed up, use the opposite direction (move up and down). It should be below the previous for reverse and above for forward.
To freeze a section, drag the keyframe to retain the previous keyframe value. Then create a flat area in the graph. You can also select the keyframe and use Animation > Toggle Hold Keyframe to add a new keyframe where you want the animation to resume.
If “Enable Time Remapping” Is Greyed Out
In case you can't “Enable Time Remapping”, check the following parameters:
- Ensure the actual layer (not a property) is selected and that it’s not locked. Check your timeline to confirm the entire layer's bounding box is highlighted, not just the "Time Remap" property's timeline rubber band.
- Time Remap may already be enabled: right-click on the layer > Time > Enable Time Remapping.
- The source has no time dimension. If you have a still image, a solid, a shape, or a text layer, you can’t use time remapping. This feature requires a layer with a temporal component to analyze its properties at a given time. You can pre-compose and then remap the pre-comp.
- Time Remapping doesn’t support audio-only layers. You need to handle audio separately.
- This feature faces challenges in handling conflicts or complex stacks (time effects like Timewarp or heavy expressions). Try to pre-render a clean pass, then remap.
How to Build a Clean Speed Ramp
A clean speed ramp is a smooth and controlled adjustment of a video clip's speed over time. For this purpose, we advise you to use time remapping, as follows:
- Identify the action beats and place markers where the speed should shift.
- Add Time Remap keyframes at the start/end of the ramped section.
- Create the ramp: tighten/expand spacing to control speed; apply Easy Ease; adjust handles in Speed Graph.
- Enable frame blending and test both Frame Mix and Pixel Motion; pick the cleaner result.
- Preview in real-time; trim comp work area; iterate on curve shape.
- Micro-adjustments: avoid abrupt kinks; keep velocity changes gradual unless intentionally snappy.
Follow proven best practices to ensure optimal results:
- Shoot/choose footage at a higher frame rate when possible for slow motion.
- Keep ramps long enough to feel natural; avoid extreme slowdowns without optical flow support.
- Blend methods: try Pixel Motion first; fall back to Frame Mix if artifacts appear (such as edges or warping).
- Add motion blur carefully, considering the comp shutter angle and per-layer overrides.
- Cut-on-motion trick: hide artifacts by ramping across a cut or motion-blur-heavy frames.
Key takeaway
Nexrender helps automate the rendering process even for projects involving complex animations and effects, such as clean speed ramp sequences.
When Not to Use Time Remapping
As you can see, time remapping in After Effects is highly recommended for creating dynamic speed ramps where the playback speed continuously accelerates or decelerates throughout the clip. It can also be used to fine-tune the length of animations, loop elements, or create temporal montage effects.
However, here are some tips on when it's better not to use the time remapping feature. When it comes to uniform speed changes, use Time Stretch or remap in the NLE. If you need heavy slow motion beyond the source FPS, employ Timewarp or Optical Flow; also, shoot at a higher FPS when possible. For camera-based solutions, plan the shutter angle and motion on set to achieve cleaner slow motion.