How to Animate Text in After Effects
Text animation After Effects is a system within the program that allows text to be animated by letters, words, or lines. You have at your disposal range selectors, animators, and various effects to create dynamic and professional subtitles.
Professional tip:
complements the system of animating text in After Effects by automating the video editing process, allowing text animations to be exported programmatically and integrated into workflows without manual intervention.
How Text Animation Works in After Effects
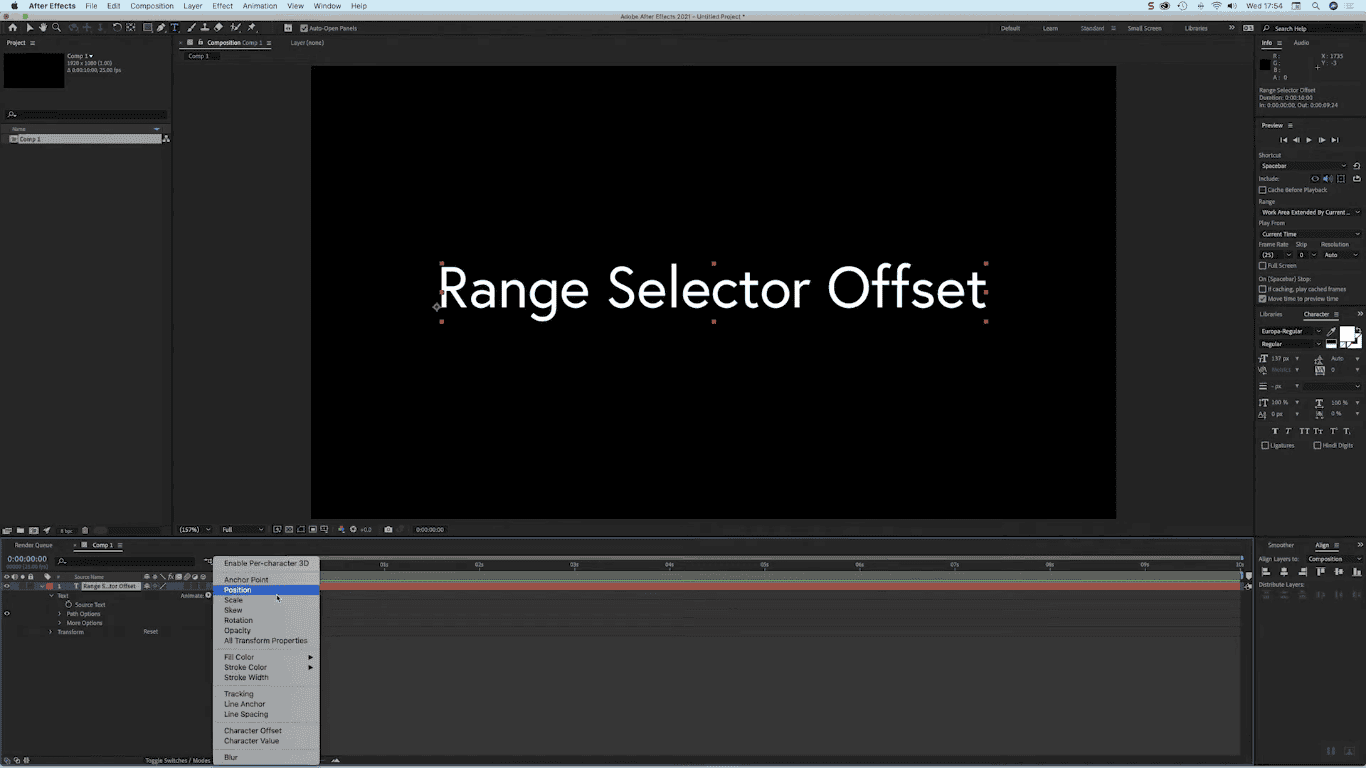
- After Effects text animation has two important levels of control: Source Text, which changes the content, font, and appearance of an entire word at once, while Text Animator allows you to animate individual letters, words, or lines.
- An Animator is added via the Animate menu, and the Range Selector determines which part of the text the animation includes through the Start, End, and Offset parameters.
- Advanced options such as Unit, Based On, and Shape give different styles of animation movement without additional keyframes, while Ease High and Ease Low allow for smoother acceleration and deceleration.
- When the Randomize Order is turned on, the animation is arranged randomly and takes on a more dynamic look.
- In addition to the standard range of sectors, there are other sectors from which Wiggly automatically creates random changes, without keyframes, ideal for glitch and flicker effects. Expression Selector allows precise mathematical control of animation. It is used when per-character delays or custom sequences are required.
- By activating Per Character 3D, each character becomes a three-dimensional object that can move in depth, rotate in three axes, and react to lights and the camera. This unlocks cinematic and spatial animations that give titles a more professional and dramatic look.
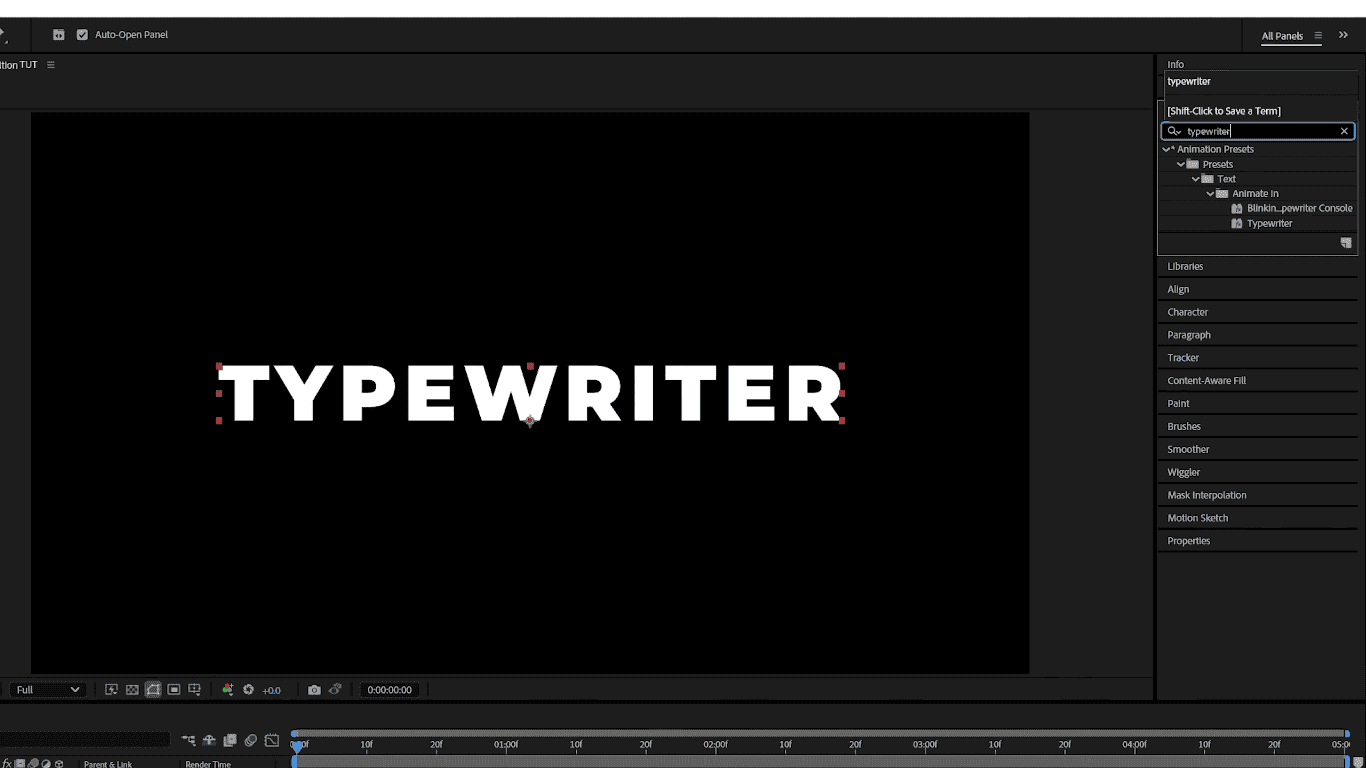
How to make a Typewriter Effect
The fastest way to create a Typewriter Effect is to create a text layer and add an Opacity animator set to 0%. The Range selector is then animated so that the Offset goes from -100% to 100%. This way the letters appear one by one. This technique works quickly and cleanly, without the need for manual keyframes for each change.
For a more realistic look, a blinking cursor can be added as a text character or a small paw layer. The blinking is usually done with a simple opacity animation or a small expression. Optionally, the effect can be completed with the sound of ticks set using layer markers.
Reveal By Character, Word, and Line
- To create a Reveal by Character, Word, or Line, first add Position and Opacity to the text layer via the Animate menu. This allows the letters to pop out from the bottom of the screen.
- The Based On parameter determines the level of animation - by letter, word, or line. Further, the Randomize Order option gives a more natural, organic look to the reveal.
- For smooth and dynamic animation, F9 Ease and the Graph Editor setting are recommended, so that the movements are faster and more attractive.
- Adding a slight overshoot to the Scale parameter creates a pop-in effect and emphasizes the arrival of each letter or word.
- Motion blur is turned on to make the animation appear more realistic and softer, especially with faster movements. By combining these settings, the animation can be simple but professional-looking.
- By experimenting with different levels (Character, Word, Line) it is easy to achieve a variety of visual styles. This way the text becomes live and visually captivating, and the animation becomes flexible for different projects.
Smooth Fade and Tracking Animation
For a Smooth Fade with Tracking animation in clean UI/UX titles, use Animate > Opacity and Animate > Tracking on the text layer.
The tracking amount is animated from a negative value to zero as the text gradually appears, creating a smooth effect of the letters expanding and closing in. This combination gives a professional, minimalist look, often used in interfaces and applications.
Kerning settings and paragraph options are important to keep the text readable and reviewable. An animation can either be slow or fast, depending on the tempo of the title and the visual style of the project.
Mask Reveal
The Mask Reveal is also an After Effects text animation effect. By employing text as a track matte, it is revealed through a moving layer or mask handle. For soft transitions, use Feather Mask, while precise, sharper reveals require the use of a Hard Mask.
Plus, lines and shapes can serve as extra visual accents that emphasize the animation.
When working with multiple lines of text, a pre-compose strategy is recommended to control the animation independently by line. This is how you achieve a professional look for swipe-on titles and lower third elements.By combining masks and additional shapes, the animation becomes dynamic and visually appealing.
Professional tip:
If you are using a non-destructive renderer,
allows the same preset to be applied to different lengths of video without manual adjustments.
can automate exporting those versions from the same AE project.
After Effects Text Animation Presets
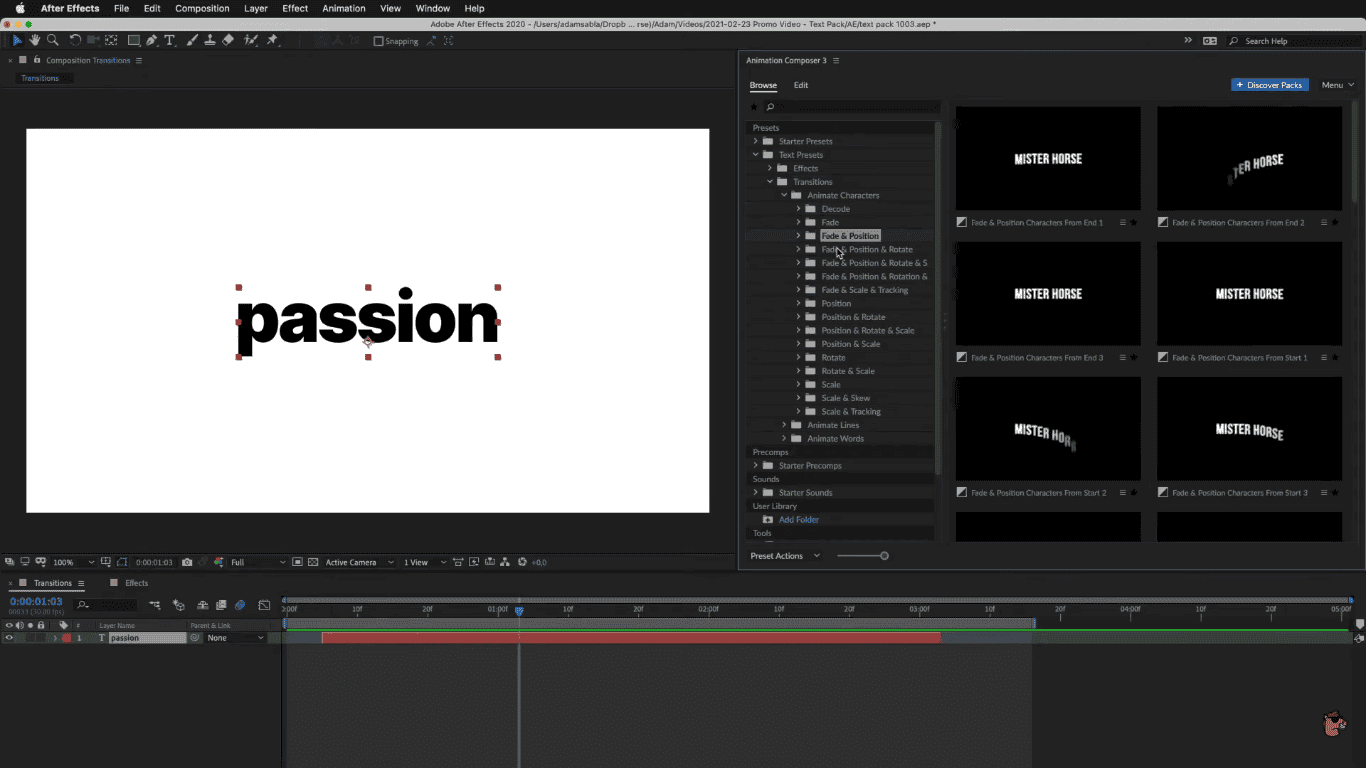
- In After Effects, text animation presets are in the Effects & Presets panel for preview or test before being applied. With a simple drag on a text layer, the application of a preset will instantly preview the animation.
- After application, the Range Selector parameters or fonts and even the speed of animation may be altered as per the demands of the project.
- You may further customize the preset to align with the style and pace of your video. Store your customized preset in .ffx format and use it again when you are satisfied with the result.
- Presets save time and make it easier to work when standardized animations or faster prototypes are needed. However, in some cases, it is better to build animations from scratch to achieve a completely unique style.
Range Selector Deep Dive
Range Selection in AE allows for precise control over when and how a section of text animates.
- The Start and End parameters are most used for simple sequential animations, while Offset allows for faster keyframing of the entire animation creation.
- Different selection shapes, such as Ramp Up, Ramp Down, Triangle, and Smooth parameter, create feathered, elegant transitions.
- The Randomize Order option arranges the animation randomly for an organic look, while Random Seed provides different variations when the same preset is applied to multiple rows.
- Combining these options makes it easy to achieve controlled, yet visually interesting animation.
Professional tip:
Use
to speed up text animation, and Nexrender for automatic video creation and consistent results.
3D Text Animation
For 3D text animation in AE, turn on Per Character 3D. This option allows the letters to move along the Z axis and create layered reveal effects.
By adding a camera and light, it is possible to use Depth of Field to focus on certain parts of the text. Each letter can cast shadows, and Ambient Occlusion further emphasizes the spatial effect and realism.
The difference between Classic 3D and Cinema 4D Renderer affects the quality of shadows and performance. It is recommended to optimize layers and lights to maintain smooth work in the project.
3D animation allows for dynamic film effects that are difficult to achieve with ordinary 2D text. By combining the camera, light, and Z position, the text gains depth and therefore becomes more attractive.
