How to Set Up After Effects Cloud Rendering
Traditional After Effects rendering process includes running several machines on site, with just one mission: rendering After Effects projects. However, this process is costly to scale with high maintenance expenses. Remote Desktop in the Cloud, a more powerful alternative, gives you control over one virtual machine that you can use to render projects as if you were sitting at your computer. You’re not dependent on the power of your infrastructure, but you can’t run multiple rendering tasks that easily. However, when rendering After Effects projects in the cloud, you have the ability to run multiple rendering tasks across several cloud assets.
There are several key approaches to Cloud Rendering After Effects projects:
- Managed Cloud Workstation
- DIY Virtual Machines
- Adobe Network Watch Folder
- Containerized Rendering
- Third-Party Cloud Render Farms
We have a separate article specifically about rendering videos in After Effects. If you’re interested, click here to read more.
When Is After Effects Cloud Rendering the Best Option for You?
Cloud rendering is a lifesaving option when your infrastructure can’t handle certain project demands. Think of a situation when suddenly you have to finish multiple renders in a short timeframe. Projects that require high resolution, like 4K or 8K videos, require a powerful CPU and RAM setup. Instead of buying more equipment, cloud rendering allows allocating processing power for the job. Cloud parallel rendering is extremely helpful with projects that require multiple deliverables. You don’t have to render one aspect ratio or language at a time, with Cloud solutions.
Furthermore, After Effects Cloud rendering is a practical way to keep your remote team in line. No matter where your team members are, they all have access to the resources they need, and everyone can upload projects for rendering. Rendering projects with loads of effects or third-party assets is also a reason to consider cloud rendering as an option. These types of renders require potent machines, so instead of buying new rigs, just set up a cloud rendering machine.
Nevertheless, alongside several robust features, a few limitations remain. The principal constraint is the After Effects license: every rendering machine must be licensed and, in most cases, connected to a network with a computer running a licensed version of Adobe After Effects. Other constraints requiring your attention include:
- Licenses for plugins used in the project must be installed on the Cloud computer.
- Allow Cloud computer access to all of the fonts and codecs to avoid rendering issues.
- Dynamic Link constraints that might need pre-rendering or setting up.
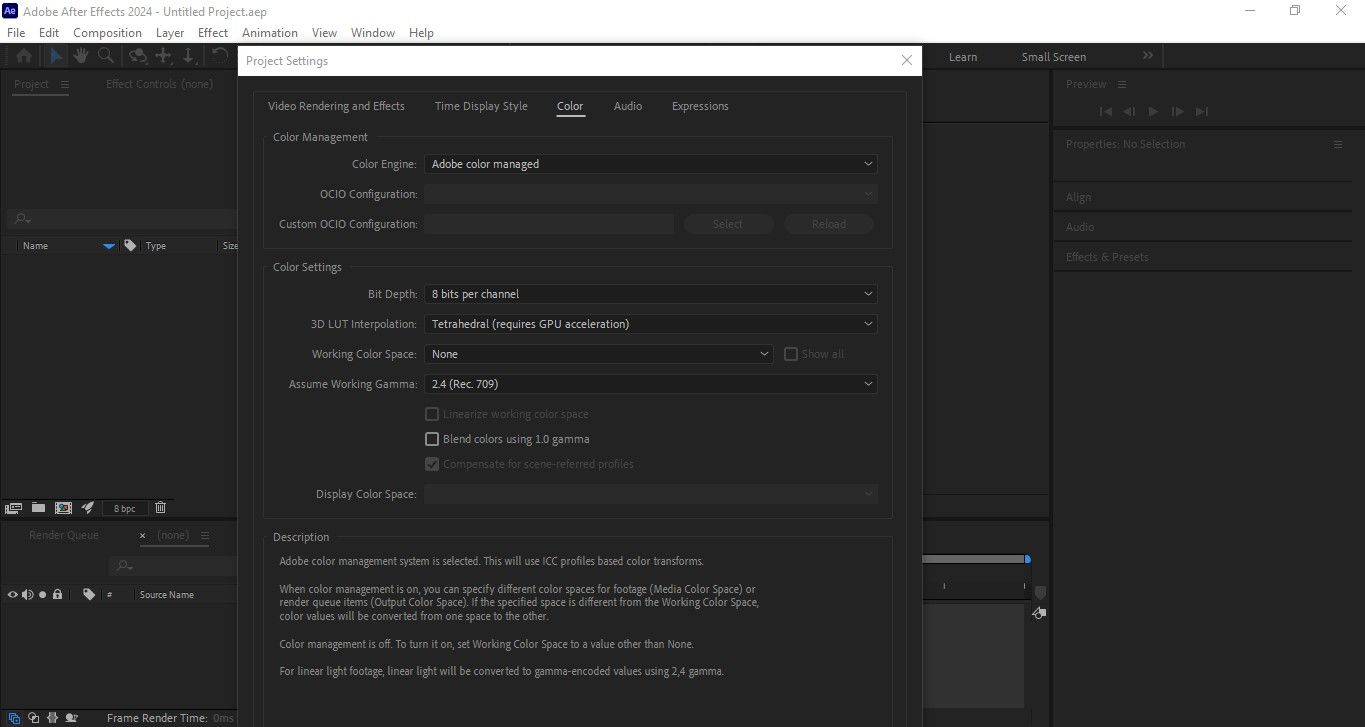
- Color management needs to be under control for consistency.
Professional tip
Nexrender automates After Effects rendering. Try Nexrender now to check how easy it makes rendering hundreds of videos in no time.
Option 1: Cloud Workstation for After Effects (Remote Desktop Approach)
This method of setting up the After Effects Cloud render machine includes renting a powerful computer with a high-performance GPU. You access this machine through your computer, and instead of rendering using your computer's processing power, the whole process goes through on a remote computer you rented.
Step-by-step Guide
- Select a proper region and machine – You should choose a cloud region that is the closest to you and your team. This way, you will significantly reduce lag and prevent wasting resources. After Effects needs a powerful vCPU and loads of RAM. In case you’re planning on working with 3D layers, effects, or plugins that rely on a GPU, make sure you choose a machine with a suitable GPU.
- Provision Windows and install After Effects – This step includes creating a Cloud Windows workstation and connecting to it using the Remote Desktop client. Then, you should install Adobe Creative Cloud and After Effects using your license credentials. Test After Effects to see if it runs properly before you move on to the next step.
- Install fonts, plugins, and other third-party assets – Add external resources to cloud computer storage. This will prevent rendering issues. Keep in mind you might need credentials to install certain plugins or other assets.
- Sync project and footage – Allow Cloud workstation access to your project data, all your videos, images, or audio files. You can upload files directly to the cloud computer, mount shared storage, or simply sync your project folder with the cloud storage. Just make sure to keep the folder structure the same on both your machine and the cloud computer.
- Run After Effects optimization – Enable Multi-Frame Rendering in After Effects to utilize all CPU cores and maximize rendering efficiency. Set the cache location to the fastest SSD on the remote machine. Selecting network storage (such as your local computer) will reduce performance. Allocate sufficient RAM for smooth rendering, but leave enough available to prevent the system from freezing.
- Render and Export – Choose between rendering directly from the AE Render Queue or sending the task to Adobe Media Encoder. Set up output storage according to your needs. It could be shared or stored in the cloud; both options allow your team members easy access.
Professional tip:
Nexrender automates video creation using After Effects templates. This saves the time you would spend on repetitive tasks. Try Nexrender now and add more space for your creative process.
Option 2: DIY Cloud Render Nodes with AE render (Headless Rendering)
This approach includes using Adobe’s command-line AErender to process multiple rendering tasks across several cloud Windows workstations. You don’t need a user interface on remote computers to render this way.
Step-by-step Guide
- Choose a Cloud provider and Virtual Machine – You can choose between Google Cloud, Azure, or AWS, depending on the pricing option for the package you need. Moreover, make sure you choose Virtual Machines with optimized RAM and CPU. In addition, if you plan to split ranges across several machines, make sure you add more vCPUs and RAM.
- Install After Effects and validate credentials – Start by adding Adobe Cloud and After Effects. When entering license information, allow multiple nodes to render. Test the installation to make sure it works properly before you start with AErender.
- Install third-party assets – Add necessary plugins, fonts, presets, and other assets to each render node. Make sure all the plugins work in headless mode to prevent rendering failures.
- Set up a shared network storage – Mount a shared storage device to allow each node to access the same files. Make sure the file paths are the same for each node. Test access by running a small rendering task.
- Prepare the project locally – Group all project assets on your local computer using the Collect Files feature. Make sure not to use local path references to avoid mishaps. If needed, pre-render any unsupported elements or Dynamic Link compositions.
- Split the workload using AErender – Using AErender from the command line, split the project so that each node gets a certain frame range to render.
- Automate rendering and retries – Using Windows Task Scheduler or PowerShell, automate rendering tasks. You could add instructions to retry failed frames or to start rendering from the beginning if a node crashes.

Option 3: Adobe Network Rendering with Watch Folders
This is a perfect option for small teams that share a local network or a Cloud connection with low latency. You use After Effects render engine nodes to watch for and pick up available rendering tasks from a shared folder.
- Create a shared folder – On your main workstation, create a shared folder with the same read and write access to all team members.
- Configure render nodes – Install Adobe After Effects and AErender Engine on each machine you dedicated for rendering. Keep each computer always running and pointed towards the same watch folder from which they’ll pick up assignments automatically.
- Prepare and submit projects – Gather all your project assets using the Gather Folder feature to keep all the project elements in one place. Add that folder to your watch folder so that the nodes can start rendering.
- Match versions and dependencies – Before you start, make sure that all the machines run the same version of After Effects, have access to the same fonts, plugins, presets, and other assets. Test before you start to make sure everything is in order.
Option 4: Containerized After Effects Rendering (Advanced)
Containerized AE rendering is intended for quick, scalable renders. It is an optimal solution for automated pipelines that need to deliver bulk results.
Step-by-step Guide
- Create a Windows container image – Choose a Windows base image that covers Adobe After Effects system requirements. Using Enterprise development tools, install After Effects, and make sure each render uses the same version of the software.
- Provide resources – Embed fonts, presets, plugins, and other resources into the container image. Mount external storage for both output and resource sharing, so every footage and video is available across multiple renderers.
- Orchestrate – Use Azure Container Instances or some other platform to deploy containers. With orchestration rules, set up container activation, rendering, and automatic process termination. This allows you to scale your process seamlessly when it’s needed.
Professional tip:
Nexrender can submit rendering tasks across several nodes. Try Nexrender now and experience an accelerated workflow.
Option 5: Using a Third-Party After Effects Cloud Render Farm
This option means using specialized services that provide pre-arranged machines. This way, all you have to do is configure the render job and never worry about machines and scaling.
What To Know Before Choosing a Service Provider?
Performance and Capability – Make sure the provider supports your version of After Effects, plugins, and any other resources you might use. Check for the average job completion period and how the service operates with high-resolution or large FPS videos. Keep the prices in check to prevent overpaying for your plan.
Server location, upload time, and safety features – Make sure the provider offers servers located near your area. Introduce yourself to how long it takes to upload a project, and what security features keep your files safe.
Workflow features and Customer support – Check each provider for workflow features to ensure you choose the option that provides the best control of the process. Also, analyze the quality and range of their respective customer support services.
Step-by-step Guide
- Get the task ready – Place all the project documentation in one place using Collect Files. Check compatibility for plugins and effects. If certain effects are not supported, prerender those to prevent failures.
- Run a test job – Run a short rendering job, just a few frames, to make sure all the fonts, plugins, and effects are working. If needed, fix any issues.
- Validate outputs – Verify codecs, resolution, color management, and bit depth to make sure the output matches your requirements.
QA Before You Scale
- Dry Run: Do a short 10-second video rendering to make sure the end result quality matches the local results. This helps detect differences in the end result.
- Check technical details: Check if the timecode starts and ends according to your expectations. Verify that color presets and color management are configured correctly, and that alpha channels render as they should.
- Audio testing: Make sure there are no losses in sound quality. Check channel mapping and synchronization. Also, check if every node renders audio correctly.
- Document everything: Save your working environment details for the future. You might need it for scaling or when you add new machines.
If you’re interested in speeding up After Effects on your local machine, we have an article with advice on that topic. Just click here and read all about making After Effects work faster on your existing machine.
FAQs
Can I Render in The Cloud Without a Full After Effects License?
In general, the answer is no. You need a valid license across every machine. However, some enterprise agreements offer render-only use, but you should check for compliance with Adobe.
Do I Need A GPU For After Effects Renders?
After Effects relies heavily on RAM and CPU power, so for 2D motion and similar tasks, you don’t need a GPU. However, in the case of 3D layers, GPU-accelerated effects, and certain third-party plugins, the GPU is very important.
Is Adobe Media Encoder Better Than AErender for Cloud Jobs?
Adobe Media Encoder works fine with interactive workflows and format conversions. However, if you’re looking for scalability and automation, you should go with AErender.
What’s The Simplest Setup for A One-Off Rush Job?
The simplest solution is a cloud workstation that you access through Remote Desktop. It’s fast and simple, requires minimal setup, and behaves just like a powerful local computer.