How to Replace Text and Images Automatically in After Effects
Batch rendering is a process in which multiple compositions, or versions of a project, are rendered automatically. This process does not require each composition to be started manually. Batch rendering significantly saves time and reduces the need to repeat the same actions. It also reduces the risk of human error when manually changing content and rendering. This process allows for consistency in format, resolution, codec, and settings in the output files.
If you need to produce a series of similar videos with different texts, images, or data, batch rendering will be of great use to you. This applies to videos for social networks, personalized content, and the same videos in different languages. This functionality is also very practical when you leave the rendering to run automatically for a long period without supervision, such as overnight.
How to replace text and video elements automatically with Nexrender
1. Prepare the After Effects Template
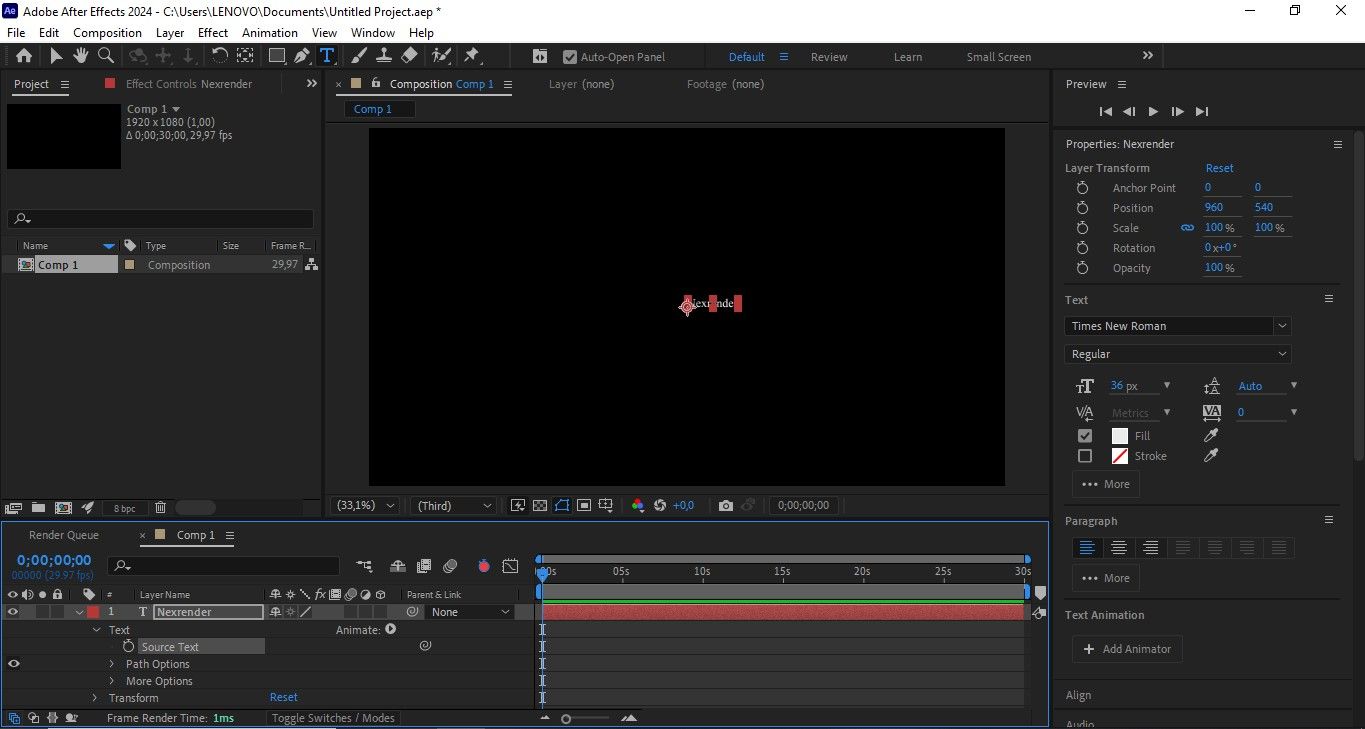
At the beginning of the process, you need to create an AE template that will serve as a reusable template. All text layers that will change automatically should be defined as standard Text Layers. Name your compositions and layers clearly so that Nexrender can map them accurately. Nexrender is an automated video maker and editor. After you upload AE template, it will help you generate thousands of videos.
Since Nexrender is an open-source tool, getting started does not require account registration, but rather installing and configuring the rendering environment. Just insert video and image elements as footage files that will be replaced later. Prepare the layout so that it supports changes in text length and different visual content.
2. Define Replaceable Text and Video Elements
Identify the text layers that will be changed throughout the Nexrender job. Define the video or image assets that will be automatically replaced before rendering. It is essential to ensure that all replaceable elements are properly linked to their respective compositions. If necessary, enable the use of external data sources such as CSV or JSON.
3. Create and configure a Nexrender job
Create a Nexrender job that references the AE project. In the job file, define: text edits, video and image assets, and output render settings. Precisely map the assets to the appropriate layers in After Effects. Set the format, resolution, and location of the output file.
4. Start automatic rendering
Launch Nexrender, and it will automatically load the AE project, replace text and video elements, and render without manual intervention. Note that it is possible to render one or more videos in batch mode.
5. Review Results and Reuse Templates
Check the rendered files for text and visual accuracy. Adjust the templates or Nexrender configuration as needed because the same template can be used for mass and personalized video production.
How to replace text and video using After Effects only
1. Prepare the After Effects project
Open or create an AE project to use as a basic template. Organize your compositions and layers so that they are clearly structured and easy to see in the timeline. Make all elements that will be changed exist as standard Text or Footage layers. Save the project before starting manual edits.
2. Manually replace text through the AE interface
Select the appropriate text layer in the timeline. Activate the text tool and directly edit the text in the composition panel. Check if changing the text affects the layout, alignment, or animation. Adjust the font size, tracking, or layer position as needed.
3. Replace text with source text expression
Open the source text property of the text layer. Activate the expression by clicking on the stopwatch icon. Link the source text to another text layer in the same or another composition, or to a control layer (Null Object). This way you enable centralized control of the text, without multiple manual changes. Changing one source automatically updates the linked text elements.
4. Manually Replace Images and Videos Through Project Planner
In the Project Panel, locate the existing Footage file. Use the option: Replace Footage > File. Select a new image or video file from your local drive. After Effects automatically replaces the content in all compositions where the footage is used.
5. Replace images and videos directly in the timeline
Import a new footage file into the project. Drag the new file over the existing layer in the timeline while holding down the appropriate modifier (Alt/Option). This will preserve: animations, transformations, effects of the existing layer.
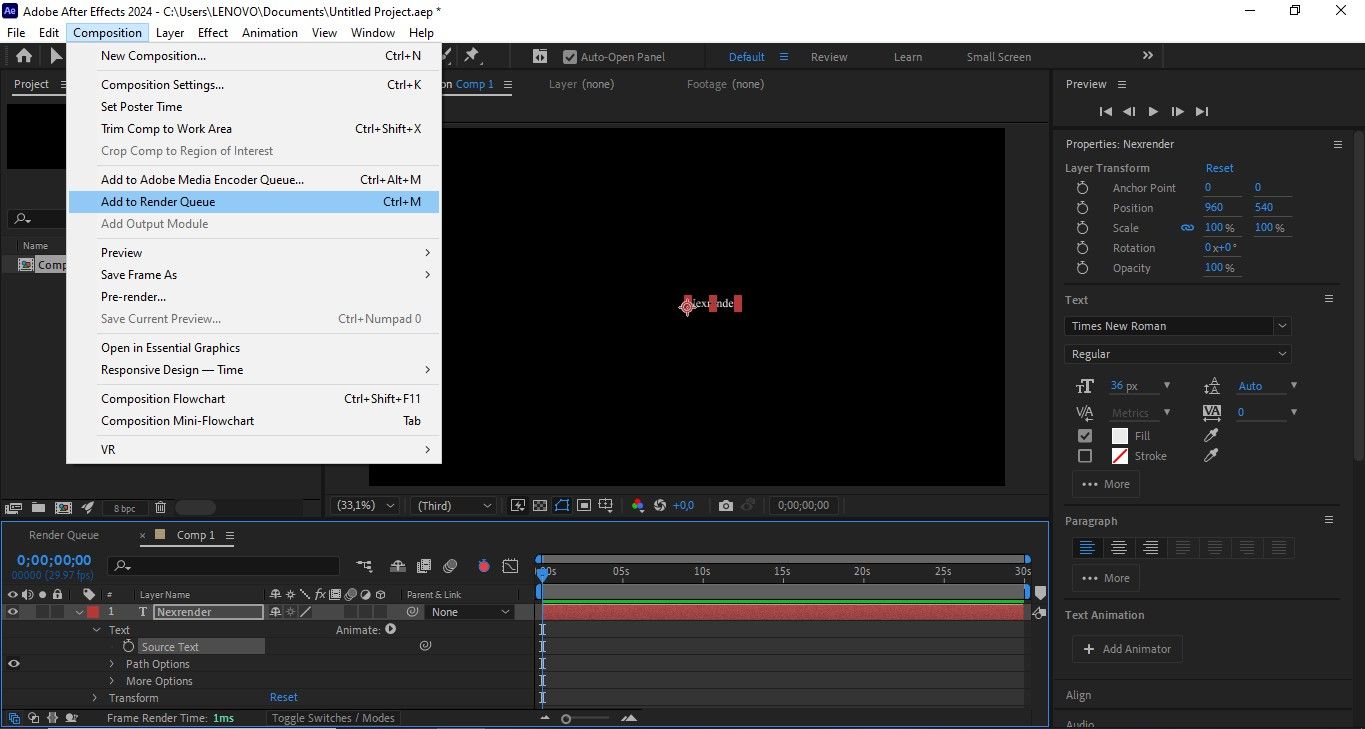
6. Check and render
Check if the new text and visuals work correctly in the animation. Manually add the composition to the Render Queue or Adobe Media Encoder. Run the render for each version individually.
7. Limitations of the manual approach
The most important thing to note: any change requires manual intervention in After Effects. Also, the risk of errors increases when working with a lots of variants. This method is inefficient for projects with a large amount of personalized or serial content.
Automation replaces text and video elements without opening the After Effects project for each change. At the same time, Nexrender significantly reduces production time and the risk of human error. Due to its scalability and repeatable structure, automating the process with Nexrender is a more efficient and long-term sustainable solution.